Basic Functions#
This document will cover a few of the basic wallet functions available within Altitude.
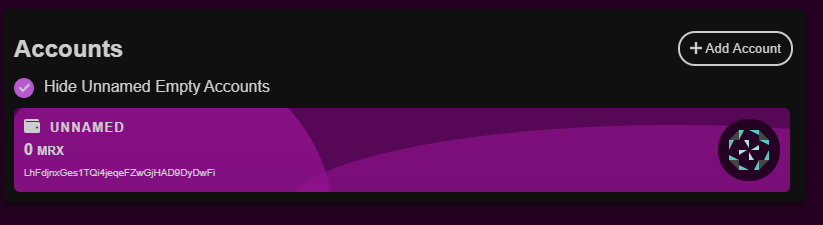
Accounts#
The accounts associated with the wallet can be viewed from the main dashboard tab. Accounts that contain funds or have been given a label will appear here at all times, the visibility of emtpy unnamed account can be toggled.
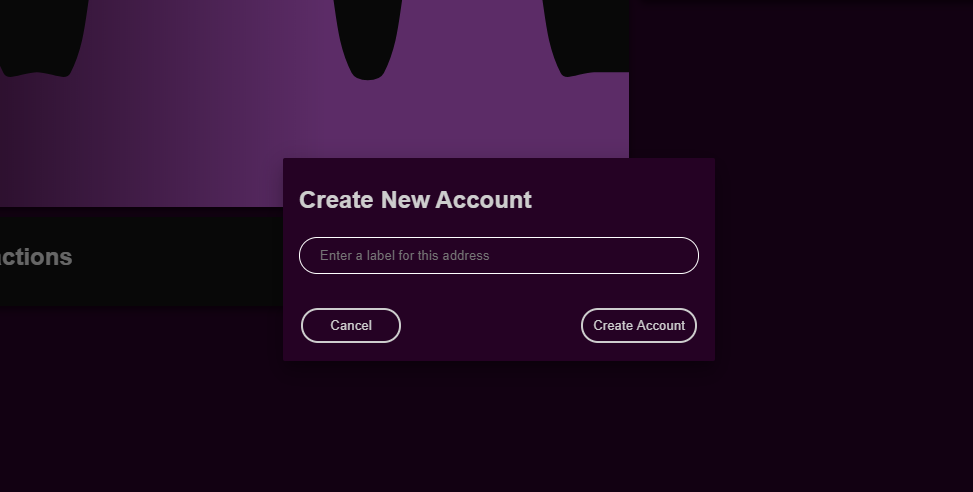
To create a new address via the Add Account button, just give it a label.
Receiving#
To receive funds you will need to provide the sender your address. Click the account in the dashboard to display your address that can be copied to clipboard.
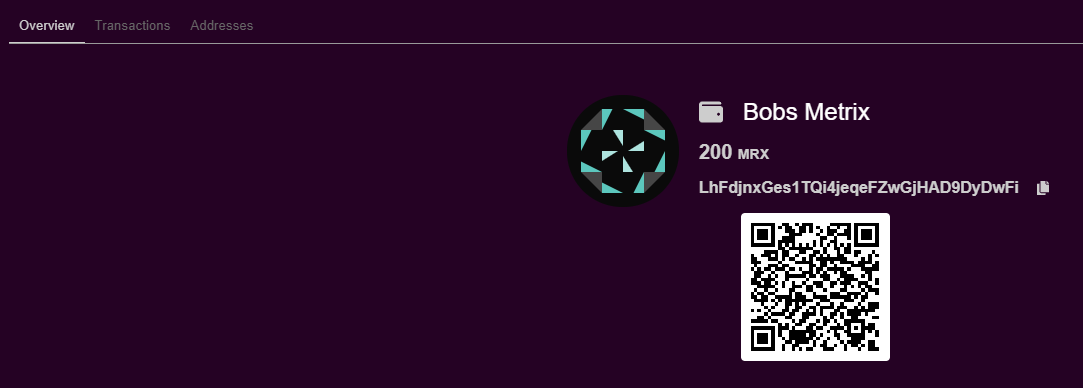
This account dialog also provides access to transactional information for this address.
Sending#
As the name suggests sending funds is all completed through this tab. In its simplest form, to send funds simply fill in the Pay To, Amount field's and click Send. The wallet will automatically select the coins inputs to cover the amount required as well as the transaction fee needed.
If you click Send whilst the wallet is locked, you will be prompted for the passphrase to continue the transaction.
For advanced sending and input selection see Coin Control.
Transactions#
This is simply a log of transactional activity completed by this wallet. Right clicking any of the transactions gives the option to copy some of the transaction attributes.
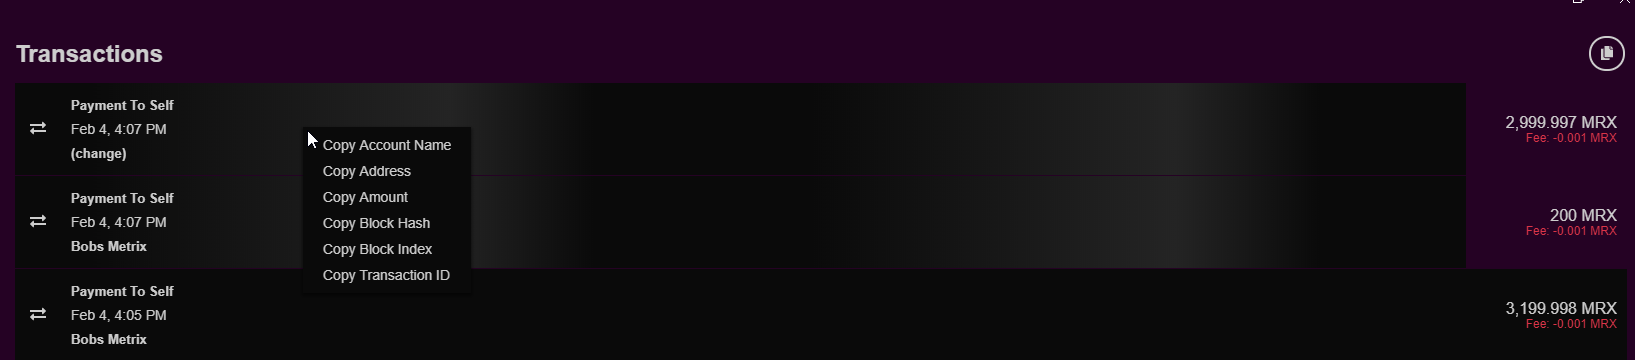
Clicking the small copy page button in the top right, copies the transactions as tabular information to the clipboard. This can then be pasted into the spreadsheet application of your choice.
Staking#
See the Staking documentation.
Governor Node#
See the Governor Node documentation.
Block Explorer#
Search your local copy of the blockchain for transactional hashes, block hashes, block numbers etc.

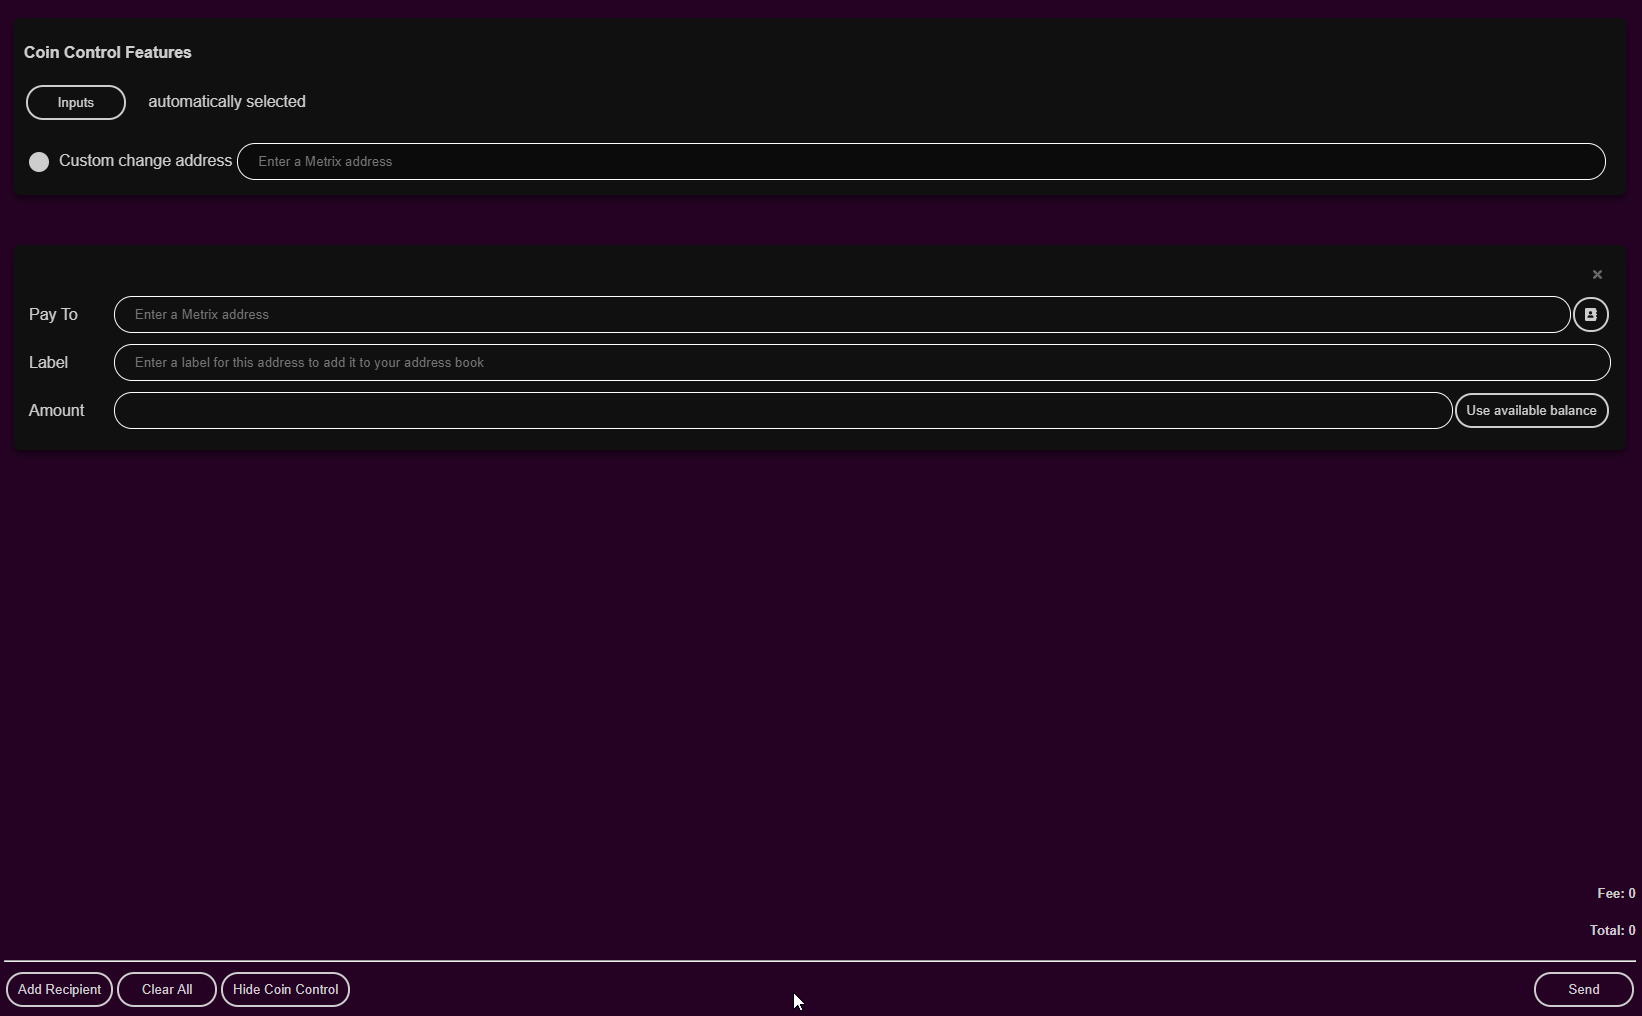
Coin Control Features#
For more advanced sending and coin selection options, clicking the coin control toggle button shows/hides the ability to select specific inputs and to specify a custom change address.
Think of Inputs as bundles of coins that have been received in individual transactions.
In the example below, if Bob wants to send Dave 300 MRX, multiple inputs must be selected. These will be combined in the transaction and Dave will receive them as a single Output.
If Dave then wants to send 300 MRX to Jane, he need only select a single input in his wallet, as they were all received together.

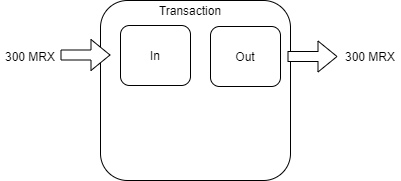
For the sake of simplicity fees are ignored in this example. Fees are deducted from the total to send in the case of input selection. In the real world Dave would actually receive 299.999 MRX in this example. The totals will always be shown in Altitude above the Send button.
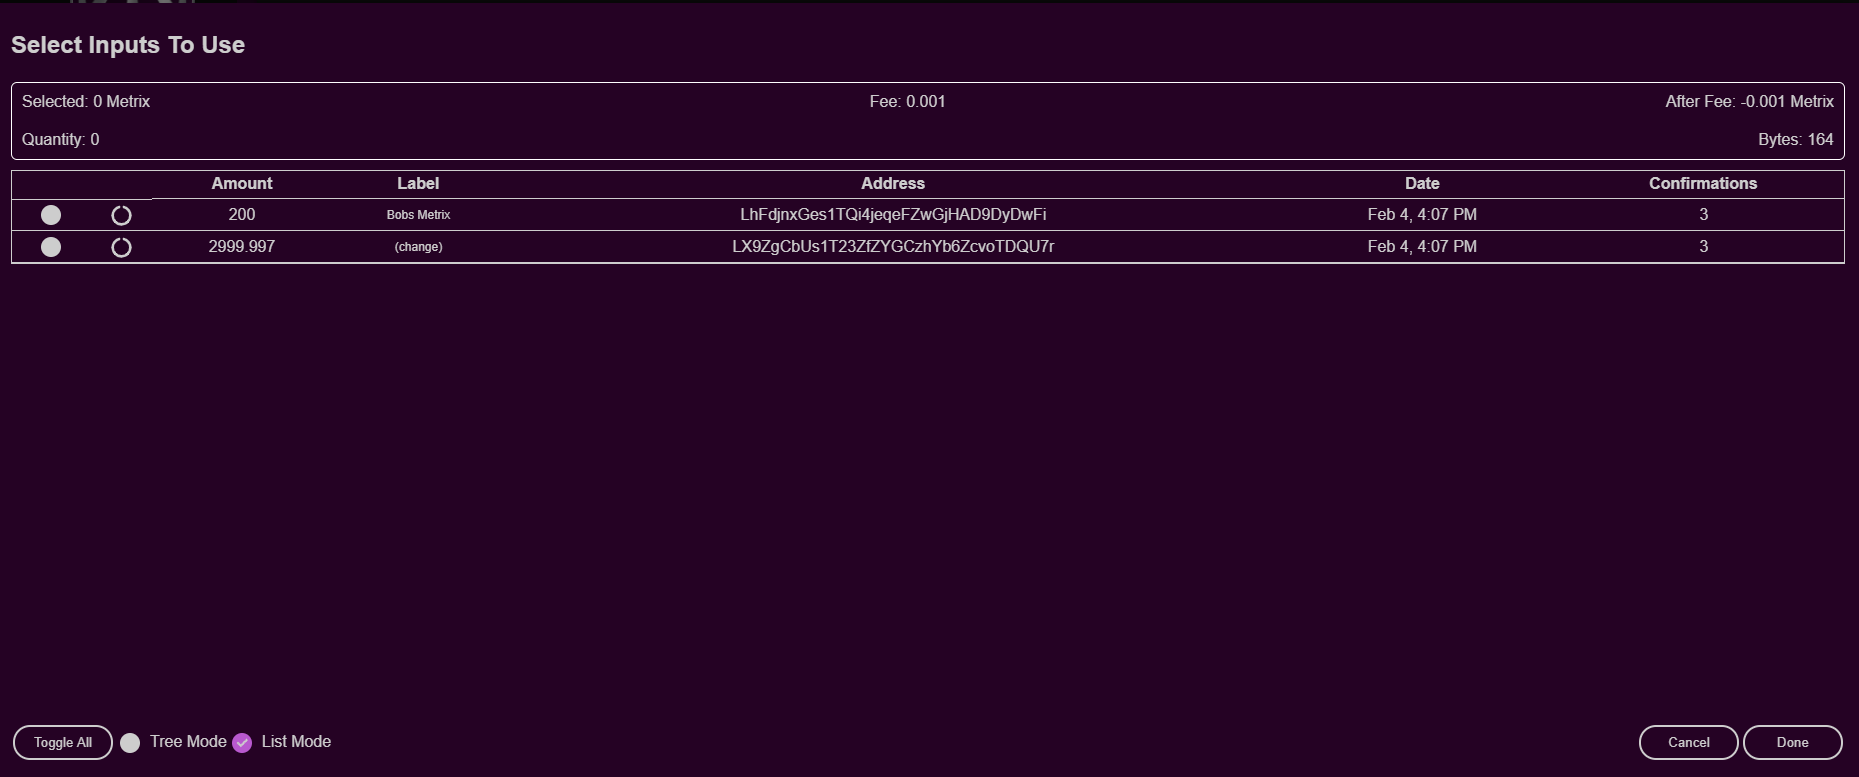
When multiple inputs are available to select they appear in the inputs dialog as below.
Change addresses#
When the input amount is larger then the amount the user wants to send, the remaining coins are returned as change.
Continuing the example above. If Bob wants to send Dave 250 MRX, he still needs to select both inputs to make the required amount. But the remaining coins from those 2 inputs need to get returned.
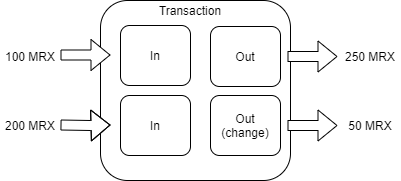
In a normal scenario, the wallet auto assigns a new change address for these coins to be accepted in, this address then becomes part of the wallet.dat file (Another reason regular backups are advised).
Altitude also allows the change address to be user specified. If the wallet is aware of the address and a label is assigned this will be displayed alongside.

Coin Control & Staking#
Using the coin control input selection is commonly used to "bundle" coins into larger inputs, therefore increasing your coins weight against the network.
This involves simply selecting the inputs you want to bundle together, then sending them back to yourself. it will appear in your wallet as a Payment to Self, the only deduction you should see is the fee.